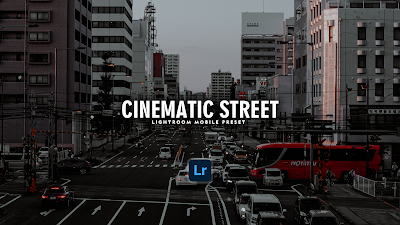
Unleash the magic of these presets to add a dramatic flair and vibrant cinematic colors to your street photography, making every shot a work of art. With just one click, these presets will elevate your photos to a professional level, bringing out the mood, contrast, and cinematic atmosphere you've always desired. Get ready to create captivating urban visuals that tell a story with every shot.
Kindly note: All photos are unique, and sometimes presets don't work on every photo, the presets might need to be slightly adjusted, based on your lighting conditions, camera mode, and settings. So it is normal to make some adjustments after applying a preset to get the perfect look that will fit your image, Use this product as the basis for working with an image, so please play around with some settings to enhance your results.
PLEASE PAY ATTENTION
🤍 These presets are created without exposure adjustments so you may need to adjust those manually since every photo is different.
Lightroom Preset is what you need to give a modern and consistent look to your images, this preset includes mobile format (.dng) so you can easily edit it on the go with your phone/tablet device.
ADDITIONAL INFORMATION
🤍 Works with & without an Adobe subscription
🤍 Once downloaded can be used an unlimited amount of times
🤍 Compatible with All Lightroom Versions
HERE ARE THE STEPS TO IMPORT A DNG PRESET
🤍 Download the DNG Preset: First, make sure you have downloaded this preset before.
🤍 Open Lightroom Mobile: Launch the Lightroom Mobile app on your smartphone or tablet.
🤍 Import the DNG File:
• Tap the '+' icon at the bottom of the screen to open the import options.
• Choose 'From Files' if you downloaded the DNG preset from the internet or 'From Camera Roll' if the DNG preset is in your device's gallery.
🤍 Select the DNG Preset: Navigate to the folder where your DNG preset is located and tap on it to select it.
🤍 Open the DNG in Lightroom: After selecting the DNG preset, Lightroom Mobile will open the file. It will appear as an image.
🤍 Create a Preset: If you haven't created a preset before, you'll need to do this first. To create a preset:
• Tap the '+' icon next to 'Presets'.
• Give your preset a name.
• Choose a group for your preset or create a new group.
• Adjust the settings as per your DNG preset settings.
• Tap the checkmark or 'Save' to create your preset.
🤍 Apply the Preset: With your preset created, it will now be available under the Presets panel. To apply it:
• Scroll through the presets and select the one you just created.
• The preset settings will be applied to your DNG image.
🤍 Fine-tune if Necessary: DNG presets are a great starting point, but you might need to make additional adjustments to suit your specific image. You can tweak settings like exposure, contrast, and color to get the desired look.
That's it! You've successfully imported and applied a DNG preset in Lightroom Mobile. You can now use this preset on other photos to achieve a similar look and feel.
Add a new preset to your collection and make stock photos look amazing!


